Cleaning a pet’s ears is not a matter of pushing a cotton swab as far into the canal as possible. The safer approach is to inspect the ear first, use a cleaner intended for dogs or cats, massage gently, allow the pet to shake, and wipe only the visible area. Extra wax, odor, scratching, head shaking, or discharge may reflect more than ordinary dirt, including inflammation, parasites, allergies, or a foreign object. Veterinary guidance is especially important when the ear looks painful or damaged. The following routine is intended for general home-care reference and does not replace an examination or treatment plan from a veterinarian.
Inspect the ears before cleaning
Begin in a bright, calm place and look at both ear flaps and the visible ear openings. Note redness, swelling, scabs, bleeding, thick discharge, a strong odor, dark debris, or a reaction when the ear is touched. A normal ear does not have to be perfectly free of wax, but persistent scratching, repeated head shaking, or pain deserves attention before any liquid is applied. Do not use alcohol, hydrogen peroxide, human ear products, or over-the-counter wax removers unless a veterinarian has specifically approved them. A veterinarian may need to assess the ear canal and eardrum before recommending a cleaner, particularly when a cat or dog has a history of ear disease, surgery, or repeated infections.
Gather the right supplies
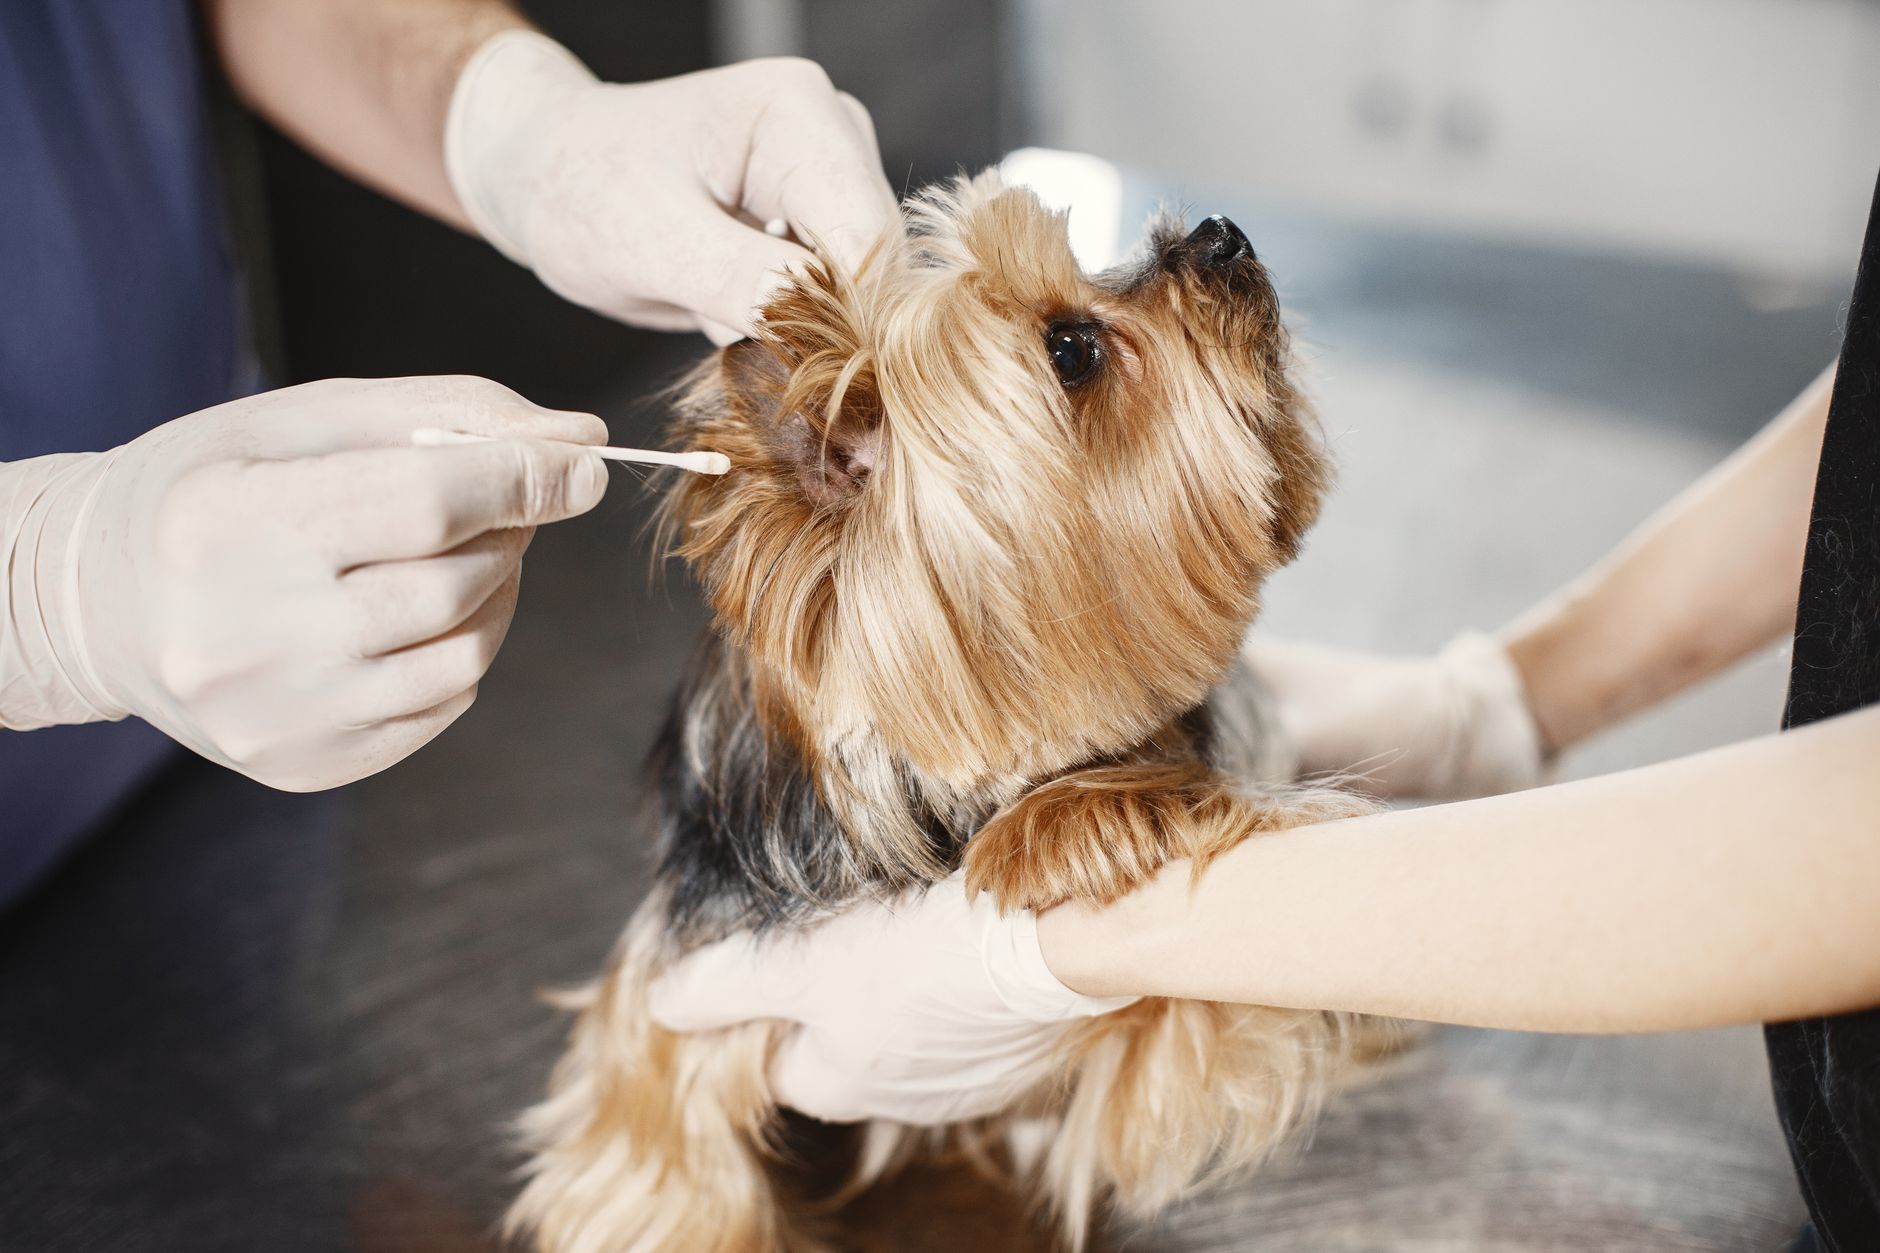
Prepare a veterinary-recommended ear cleaner for dogs or cats, cotton balls or soft gauze, a towel, and a few small treats. Keep the bottle tip away from the ear to prevent contamination, and do not insert it into the canal. If the pet does not tolerate liquid poured directly into the ear, ask the veterinarian whether saturating a cotton ball or gauze with the cleaner is an appropriate alternative. Let the pet sniff the supplies before starting, then touch the ear flap briefly and reward calm behavior. Cotton swabs should not be pushed deep into the canal because they can move debris farther inward or scratch delicate skin; the goal is controlled, gentle contact rather than aggressive digging.
Follow the cleaning sequence
Hold the ear flap gently upward so the opening is visible and the canal is easier to access. Following the product label or veterinary directions, apply enough cleaner to the ear opening, then massage the base of the ear below the opening for roughly twenty to thirty seconds, using only as much pressure as the pet accepts. Release the ear and allow the pet to shake its head; this helps move loosened material toward the outer opening. Use a fresh cotton ball or piece of gauze to wipe the inside of the ear flap, the opening, and the part of the canal that a finger can reach comfortably. Repeat with clean material as needed, but do not chase every trace of wax or reach deeper into the canal than is easily visible and accessible.
Adjust the approach for dogs and cats
Floppy-eared dogs, dogs with heavy hair around the ear, and dogs that swim may need closer observation because moisture and debris can remain around the ear opening. That does not mean they should all receive frequent routine flushing; the appropriate schedule depends on the individual pet, its ear anatomy, environment, and veterinary advice. Cats generally do not need frequent ear cleaning, so dark debris, intense scratching, or repeated head shaking should prompt consideration of conditions such as ear mites or inflammation rather than repeated home washing. For a nervous pet, divide the process into small sessions: touch the ear, show the bottle, wipe the outer flap, and only then try the cleaner. Stop if the pet struggles intensely, cries out, or shows pain.
When home cleaning should stop
Do not rely on routine cleaning when there is pronounced redness, heat, swelling, bleeding, pus, a strong odor, a large amount of dark discharge, or worsening pain. A persistent head tilt, loss of balance, repeated pawing at the ear, or sudden sensitivity may indicate a problem that needs prompt veterinary assessment. If an object appears to be lodged in the ear, do not try to pull it out with tweezers or another tool. Bring notes about when the signs began, recent bathing or swimming, changes in food or environment, and any products already used; this information can help the veterinarian evaluate the situation. Pets with a known eardrum problem or prescribed ear medication should follow the exact cleaner, dose, and sequence provided by the clinic.
Aftercare and everyday prevention
After cleaning, watch whether the pet settles normally or continues scratching, shaking, or rubbing the ear. Pat moisture from the outer flap with dry gauze, but do not direct hot air into the canal or pack the ear with tissue. During bathing, prevent water from being poured directly into the ears, and after outdoor activity check the visible ear area for grass awns, sand, or other debris. The purpose of routine care is observation and appropriate surface cleaning, not a constant attempt to make the ear completely spotless. Short, calm sessions paired with praise or treats can build cooperation and make it easier to notice changes early. If a pet repeatedly develops odor, discharge, or discomfort, a veterinary examination is more useful than increasing the cleaning frequency.
The practical sequence is simple: inspect first, prepare suitable supplies, lift the ear flap, apply the recommended cleaner, massage the base, allow a head shake, and wipe visible debris. Keep cotton balls or gauze at the outer, reachable area, and avoid cotton swabs, sharp tools, and irritating household liquids. Pain, bleeding, heavy discharge, strong odor, head tilt, or balance changes should shift the priority from cleaning to veterinary evaluation. Every pet has different ear anatomy and medical history, so home care should remain a gentle maintenance routine rather than a substitute for diagnosis or prescribed treatment.